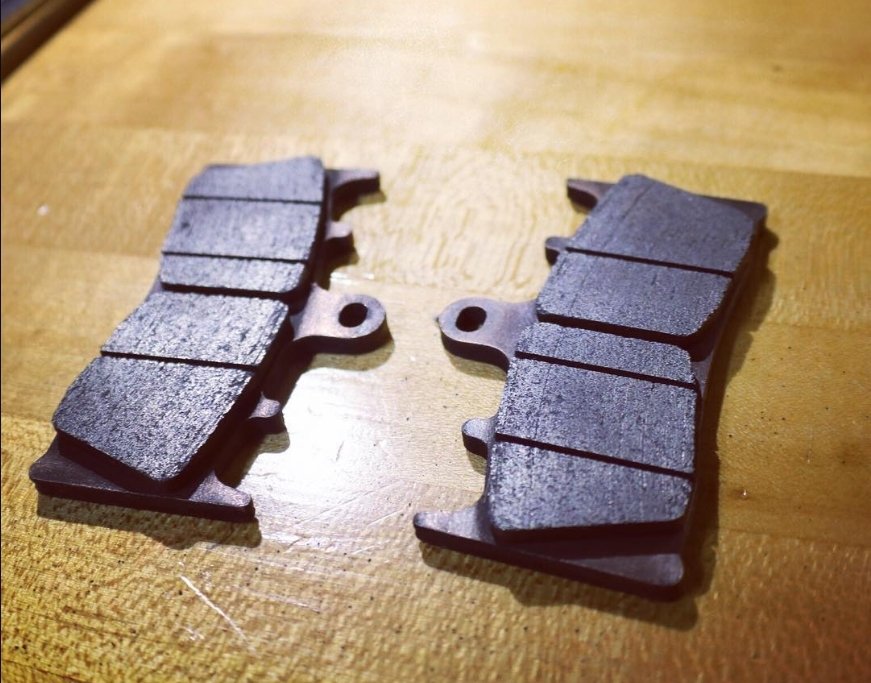
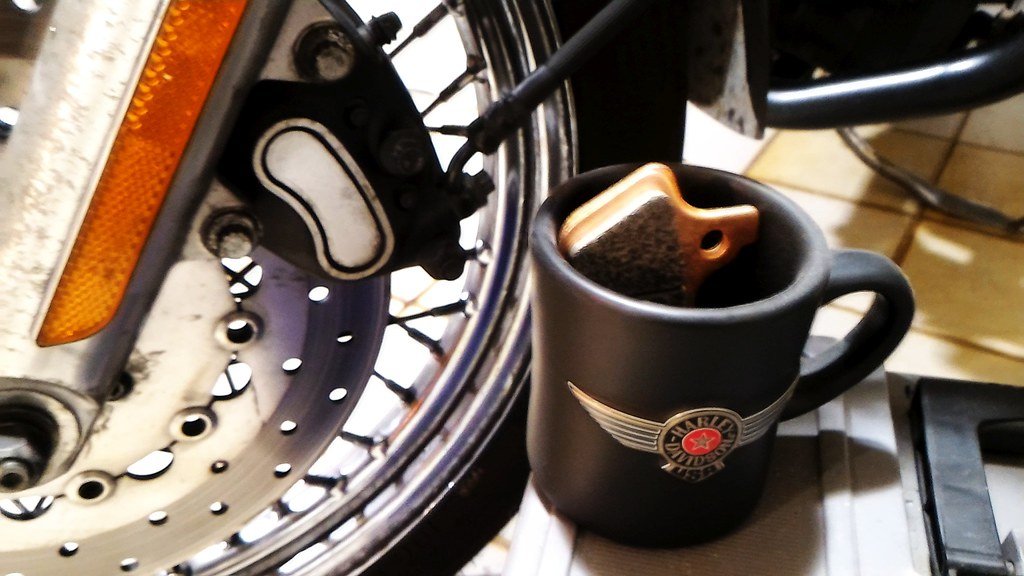
Restoring your bike’s stopping power should be done on a priority basis. That is specifically done by changing the brake pads regularly.
Ignoring replacing them brings the rider’s safety to the riskiest stage and damages other bike components. Maintaining the bike’s braking system has become the crucial practice that every motorist must opt for; only then can he ensure his life safety.
Here you can check out the guide on changing motorcycle brake pads.
Worn-out brake pads lead to unsafe driving conditions, so beware! Every motorcycle braking system needs regular maintenance, inspection, and replacement.
The general rule is to install new brake pads every 20000 miles. If you notice that they look slim, time to change them right away.
A step-by-step guide to changing motorcycle brake pads
You can go through the step-by-step guide, which has comprehensively explained all steps:
Step 1: Remove the calipers
Support your motorcycle on the center or rear stand. Then, remove the caliper to properly and thoroughly inspect each braking system component. Bring the fork in an accessible mode; allow it to turn and access the front wheel.
Loosen up the pad retention hardware, including the retaining pins and clips. Unbolt the caliper and remove the old brake pads. Keep in mind their orientation and placement; it will help you install the new brake pads with ease.
Step 2: Scrub and clean
Once you remove the old brakes, scrub and clean that area via a soft toothbrush and mild dish detergent solution. Your bike has driven almost 20000 miles, so expect massive dust and debris.
Furthermore, thoroughly clean the caliper’s exterior and remove the entire gunk and grease from the pistons. Inspect the seals; look for rust and pitting. Dry the calipers and pistons before proceeding to the next step.
Step 3: Squeeze the pistons back into the caliper body
Remove the master cylinder to squeeze the pistons back in! Suppose you want to change the rear brake pads; in that case, remove the rear brake cylinder.
Carefully press the piston into the caliper using your fingers. The reservoir starts to fill as soon as you press in the pistons. Let a paper towel or syringe wick away the excess fluid.
Step 4: Dress the rotor
Dressing the rotor is a must! Calipers are still off, so get a cleaner and a clean rag and take off all excess grime and grease. New brake pads should have a clean surface; bed them onto a spic and span surface. Make sure not to skip this step at all.
Step 5: Install new brake pads
Here comes the exciting part, you are now ready to install the new brake pads. Note the direction that is being marked on the pads. Reattach the caliper, torque all fasteners, pump the brake lever, and closely check the brake fluid level.
Step 6: Ride and bed the new brake pads
Bed the new brake pads to let the motorcycle rive effortlessly, smoothly, and safely at higher speeds. Failure to bed in the new brakes results in an uneven buildup of film and grease on the rotors. This leads to “brake judder”; it is an annoying vibration that comes through the steering wheel, pushing the pads and losing contact with the discs.
Related: Who Makes Harley-Davidson Brake Pads?

Why change motorcycle brake pads?
- Brake pads wear down with time; ignoring to replace them, your bike will start making awful sounds.
- The driving performance becomes poor.
- The rider’s safety is not guaranteed.
- Other bike components get started to deteriorate too.
- Brake pads get thin. Eventually, they fail to generate enough friction, and the ability to stop the vehicle decreases, so replacing them is necessary.
- Delaying the process to change the brake pads damages brake drums or discs.
- It results in unsafe driving conditions and costly repairs at the same time.
- Excessively or unevenly worn brake pads decrease the life of other brake system components. It no longer supports brake safety and makes the overall driving experience risky and uncertain.
Driving the motorcycle with new brakes- Tips to Follow
- You must keep the speed up to 35 to 55 mph.
- Opt for a moderate brake pressure level and slow down to 5 mph.
- Drive for 5 to 10 minutes and let the brakes slowly and gradually cool down for an hour.
- Speed up and slow down; it is the general rule that bikers must follow.
Conclusion
So, are you ready to restore your bike’s stopping power? Ride with utmost safety and never make a single-second delay when replacing the old and worn-out brake pads. Change them on priority and keep your life in the safest hands.
