Harley motor mounts keep the engine in place while you’re driving. It’s imperative to check them regularly to make sure they’re in pristine condition. This can help avoid costly repairs down the road.
The engine and transmission mounts on your Harley motorcycle will loosen over time. This can cause serious damage to your engine if left unchecked. Luckily, it’s easy to check your mounts at home with just a few tools.
In this blog post, I’ll show you 2 methods of how to check your Harley motor mounts in a step-by-step guide so let’s start!
Tools Required to Check Harley Motor Mounts:
To check your engine and transmission mounts, you’ll need:
- A socket wrench
- Torque wrench
- Flathead screwdriver
- Ratchet extension
- A lift or a friend to help you raise your motorcycle
How to check Harley motor mounts?

Method 1:
Step 1: First, remove the bolts that attach the engine guard to the frame using the socket wrench.
Step 2: Next, use the torque wrench to loosen the bolts that hold the engine in place. These are usually located on the lower right side of the engine.
Step 3: Once the bolts are loose, ask your friend to help you lift the engine slightly so you can check the mounts.
There are three mounts total – two for the transmission and one for the engine. The transmission mounts are usually located near where the shifter linkage meets the transmission. The engine mount is usually located near where the exhaust pipes meet the cylinder heads.
Step 4: Visually inspect each mount for cracks or other damage. Replace any damaged mounts as soon as possible.
Step 5: Then, use the torque wrench to tighten all of the bolts back to their original torque settings. Replace the engine guard and bolts.
Step 6: That’s it! You’ve successfully checked your Harley motorcycle’s engine and transmission mounts.
Methos 2:
Step 1: Park your Harley on a level surface and turn off the engine. Place the motorcycle on its side stand if it has one. If not, you can use a block of wood to support the bike.
Step 2: Locate the motor mounts. There are two mounts, one on each side of the engine. They will be attached to the frame with bolts.
Step 3: Check the bolts that secure the mount to the frame. Make sure they are tight and not loose.
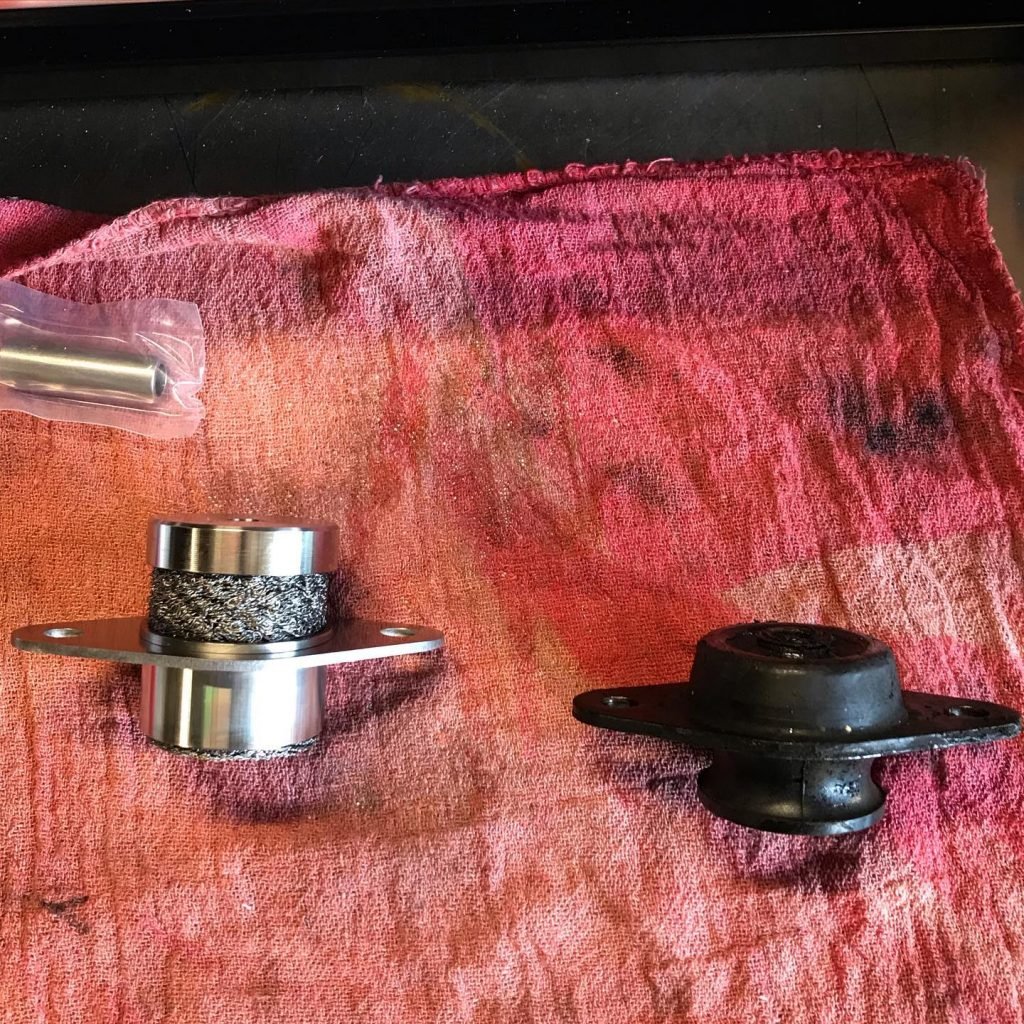
Step 4: Inspect the rubber portion of the mount for cracks or damage. The rubber acts as a cushion between the engine and frame, so it’s paramount that it is in pristine condition.
Step 5: Repeat steps 1-4 for the other motor mount.
Step 6: If either of the mounts is damaged, it will need to be replaced. You can do this yourself or take it to a mechanic to have it done.
Step 7: Checking your Harley’s motor mounts regularly can help extend the life of your motorcycle and avoid expensive repairs down the road.
By following this simple guide, you can be sure that your Harley is always in top condition because it’s very helpful for your bike’s health.
The importance of checking your Harley motor mounts

As a Harley owner, you know that your motorcycle is an investment. Not only do you want to keep it in top condition for resale value, but you also want to protect your safety while riding. One of the most significant parts of maintaining your Harley is regularly checking the condition of your motor mounts.
Harley motor mounts keep your engine securely in place while you’re riding. Over time, they can become worn or damaged, which can lead to serious problems. If your motor mounts are not in working condition, your engine could become loose, potentially causing it to fall out of the frame while you’re riding. This could lead to a dangerous accident.
In addition to checking the condition of your motor mounts, it’s also important to check the bolts that secure them in place. These bolts can loosen over time, and if they aren’t properly tightened, they could cause the mounts to fail.
Regularly checking your motor mounts and bolts is an essential part of maintaining your Harley. If you have any concerns about their condition, be sure to take your motorcycle to a qualified mechanic for inspection.
How to Recognize When Your Harley Motor Mount Is Faulty?
The reliability of your Harley motorcycle can be greatly affected by the strength and durability of its motor mounts. So, it’s imperative to know how to recognize when your Harley motor mount is faulty and in need of replacement. Here are a few telltale signs:
1. Vibration at idle
If you notice that your Harley is shaking excessively at idle, one or more of the engine mounts are probably beginning to fail. This is because the engine isn’t being adequately supported, resulting in vibration.
2. Difficulty shifting gears
Another common symptom of failing motor mounts is difficulty shifting gears, especially when the engine is under load. This is because the engine isn’t properly aligned, making it difficult for the transmission to engage.
3. Excessive engine noise
You should also be on the lookout for excessive engine noise, as this can also be an indication that the motor mounts are beginning to fail. When the engine isn’t being properly supported and is, therefore, able to move around more than it should, resulting in increased noise levels.
What to Do if You Think Your Motor Mount Is Faulty?

If you think your motor mount might be faulty, the first thing you should do is check your owner’s manual. This will give you instructions on how to inspect and replace your motor mounts if necessary.
If you don’t feel comfortable doing this yourself, take it to a qualified mechanic. They can take a look for you and make any repairs or replacements that are needed.
How do I replace my Harley motor mounts?
If your Harley’s motor mounts are worn out, you’ll need to replace them. Here’s how:
Step 1. Remove the old motor mounts. You’ll need a socket wrench to do this.
Step 2. Clean the mounting surfaces on the engine and frame.
Step 3. Install the updated motor mounts. Make sure they’re tight.
Step 4. Check for leaks and make sure the mounts are secure.
FAQs
Conclusion
Loose engines and transmission mounts can cause serious damage to your Harley motorcycle’s engine. Also, a faulty motor mount can cause major problems for your Harley. Therefore, it’s helpful to know how to recognize the signs and what to do about them if you think there might be an issue.
By following the steps outlined above, you can help keep your bike running smoothly for years to come.
Regularly checking your Harley’s motor mounts is an essential part of motorcycle maintenance. By following this simple guide, you can ensure that your bike is always in top condition.
